Ideal Timing for Wood Floor Sanding
Timing for wood floor sanding depends on environmental conditions and usage patterns. Proper scheduling ensures optimal results and longevity of the flooring. Understanding seasonal and environmental factors can help determine the most suitable period for sanding projects.
Spring and early summer are ideal due to moderate humidity and temperature, which aid in drying and curing.
Low humidity levels prevent wood from expanding or contracting excessively during sanding and finishing.
Scheduling during periods of low foot traffic minimizes disruption and allows proper curing time.
Allow sufficient time for acclimation of wood to indoor conditions before sanding.

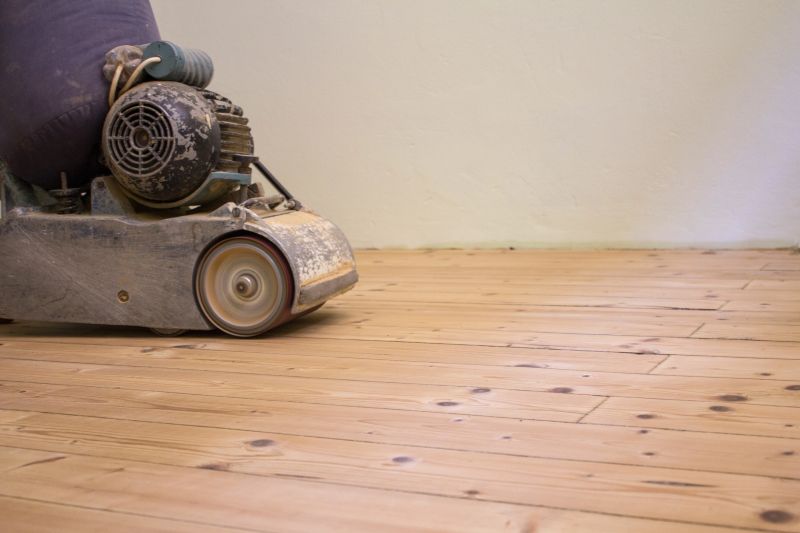
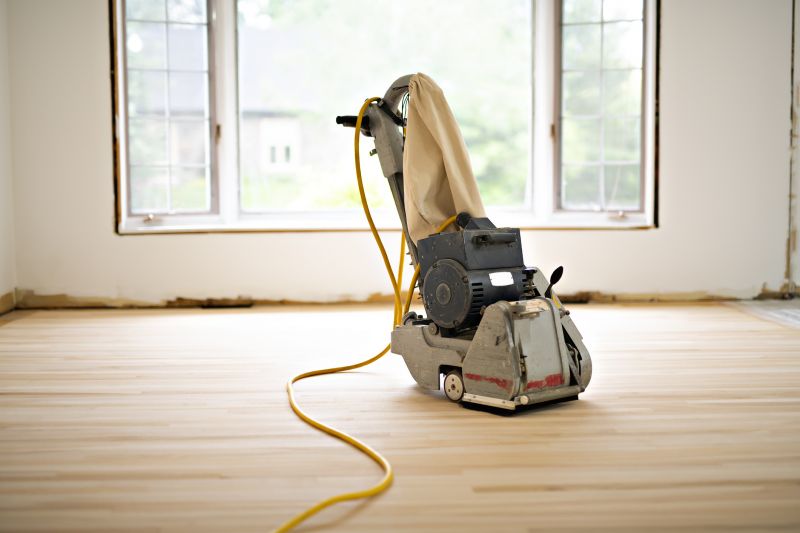
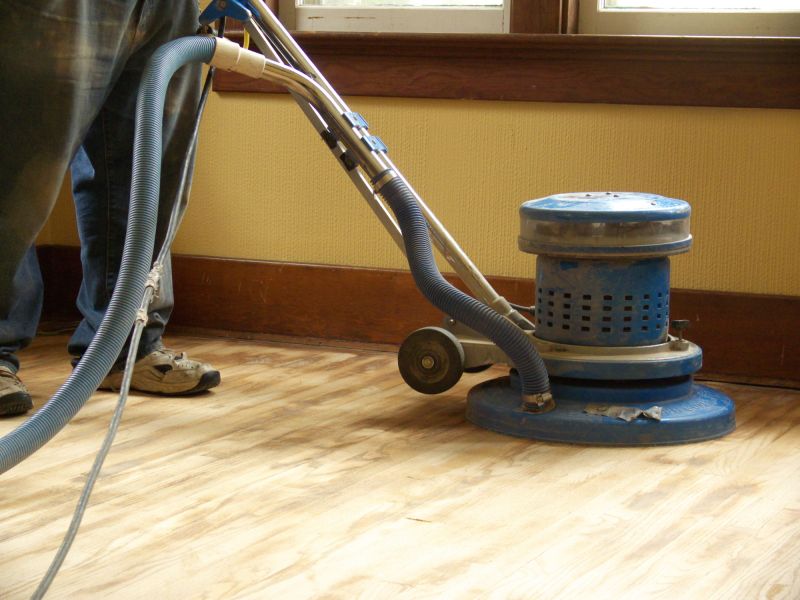
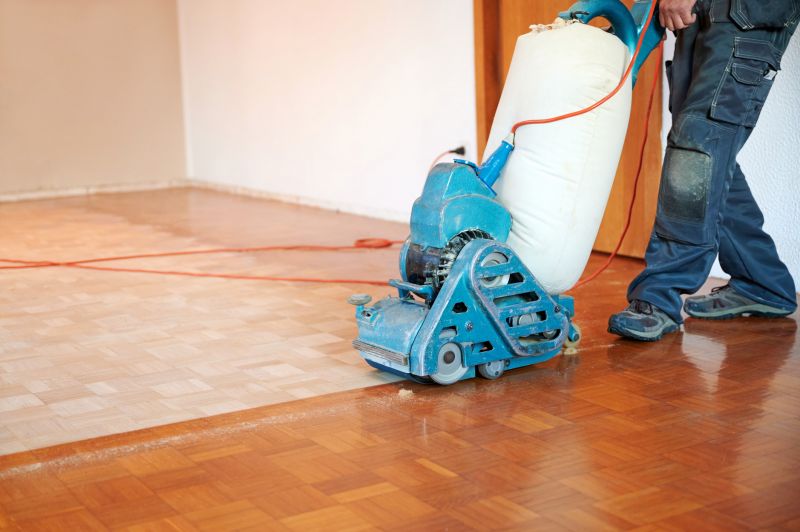
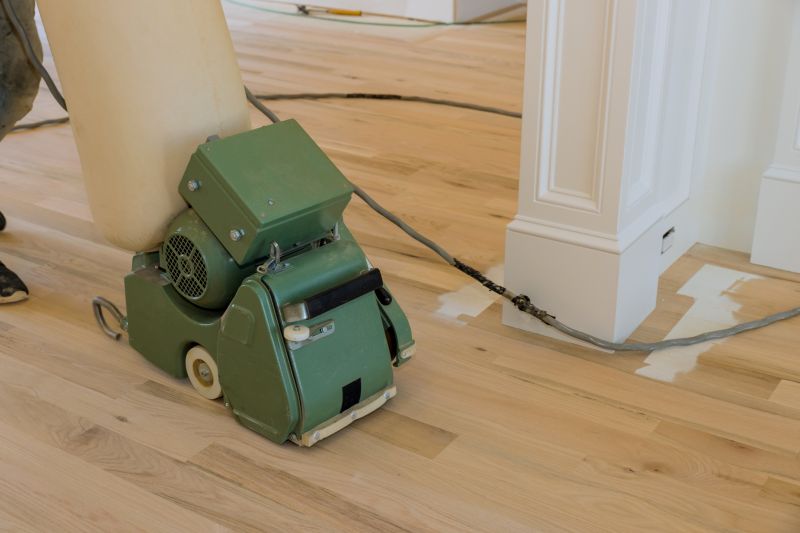
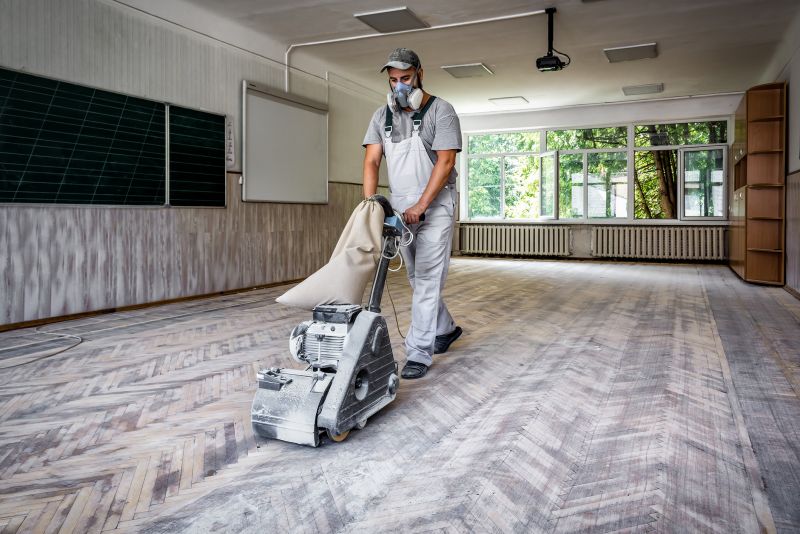
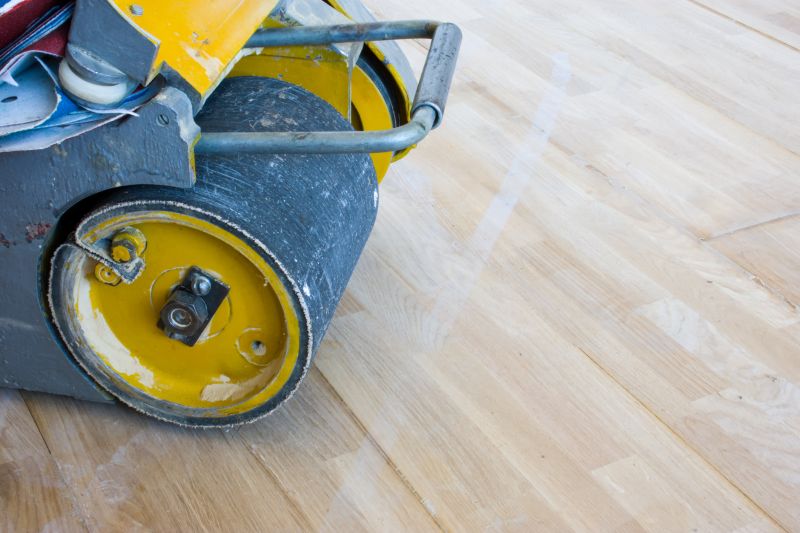
Professional-grade equipment ensures smooth and even results.
Clean and smooth surface ready for finishing.
Final appearance after sanding and sealing.

Ways to make Wood Floor Sandings work in tight or awkward layouts.
Popular materials for Wood Floor Sandings and why they hold up over time.
Simple add-ons that improve Wood Floor Sandings without blowing the budget.
High-end options that actually feel worth it for Wood Floor Sandings.
Finishes and colors that play nicely with Wood Floor Sandings.
| Season/Period | Ideal Conditions |
|---|---|
| Spring | Moderate humidity, mild temperatures |
| Early Summer | Warm weather, low humidity |
| Late Summer | Stable climate, minimal moisture |
| Early Fall | Cooler temperatures, dry conditions |
| Late Fall | Pre-winter, dry indoor environment |
Wood floor sanding is a crucial process that restores the appearance and durability of hardwood surfaces. It involves removing surface imperfections, scratches, and old finishes to prepare the floor for a new protective coating. Proper sanding enhances the natural beauty of wood, prolongs its lifespan, and maintains its value. Statistics indicate that regular sanding and refinishing can extend the life of hardwood flooring by decades, making it a cost-effective maintenance practice. The process typically involves multiple grit levels to achieve a smooth finish, followed by sealing with appropriate finishes to protect against wear and moisture.
Removing old finish and surface imperfections.
Ensuring a clean and even surface for finishing.
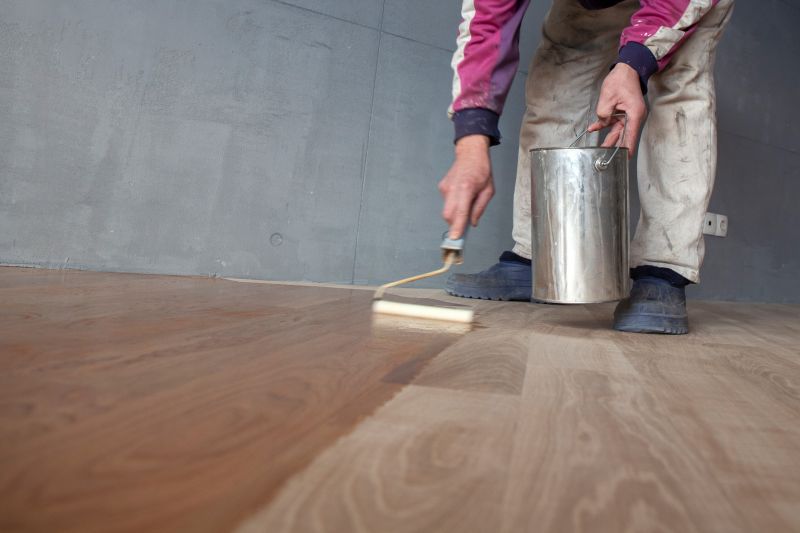
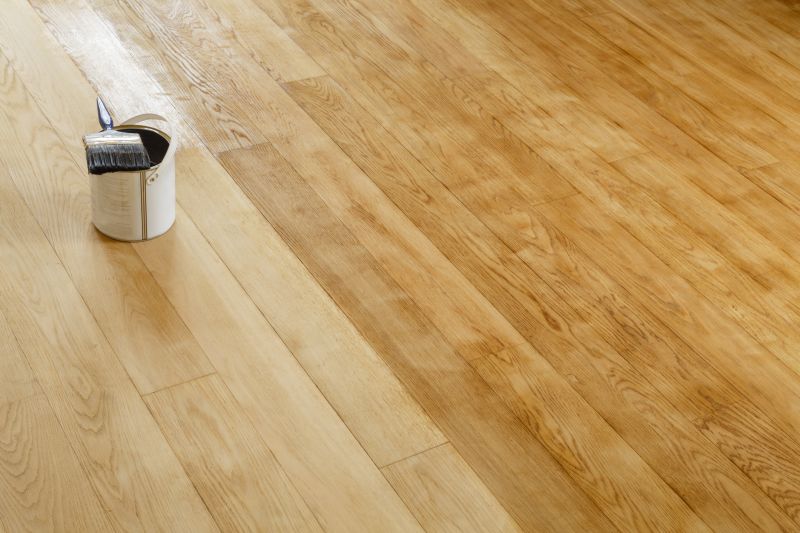
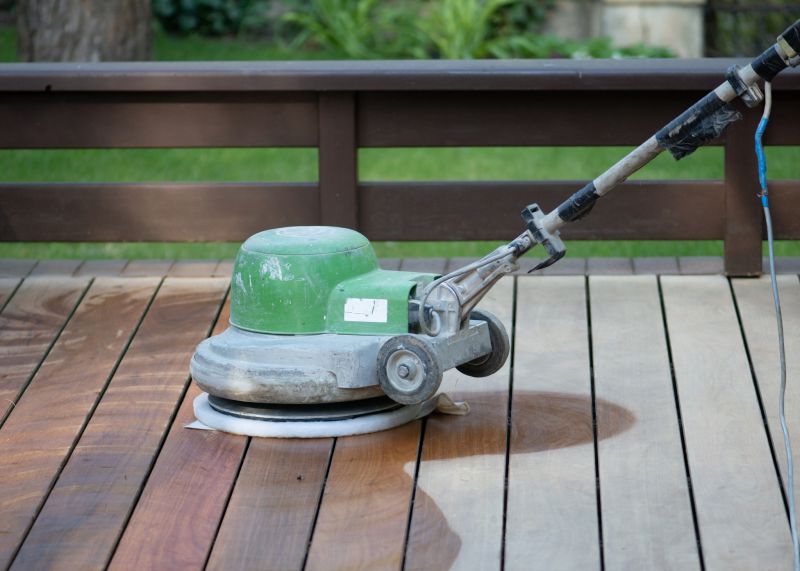
Applying sealants and protective coatings.

Enhanced appearance and durability.
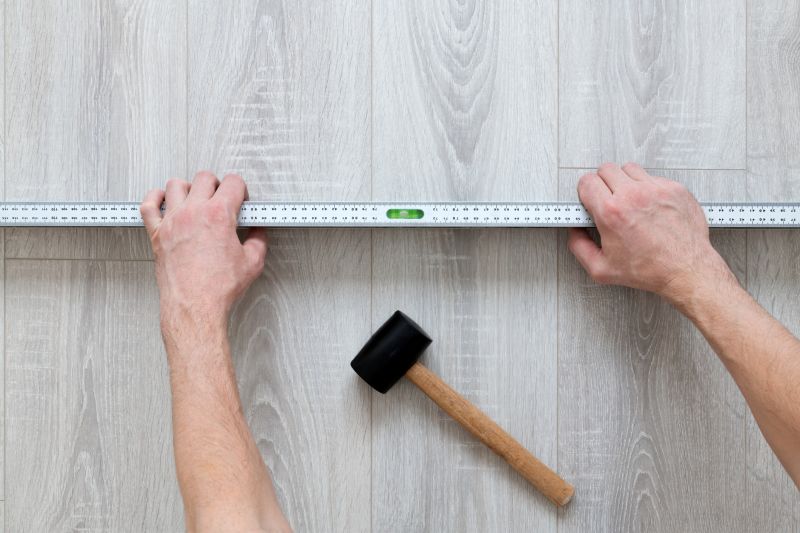
Little measurements that prevent headaches on Wood Floor Sandings day.
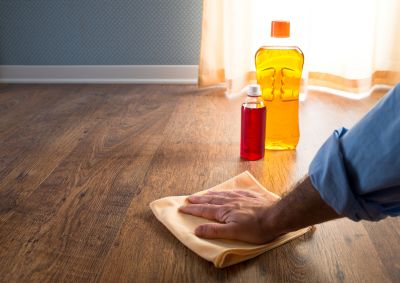
A 60-second routine that keeps Wood Floor Sandings looking new.

A frequent mistake in Wood Floor Sandings and how to dodge it.
Small tweaks to make Wood Floor Sandings safer and easier to use.
Interested in scheduling a wood floor sanding project? Filling out the contact form can provide more information and help plan the optimal timing for the specific needs of the flooring environment.